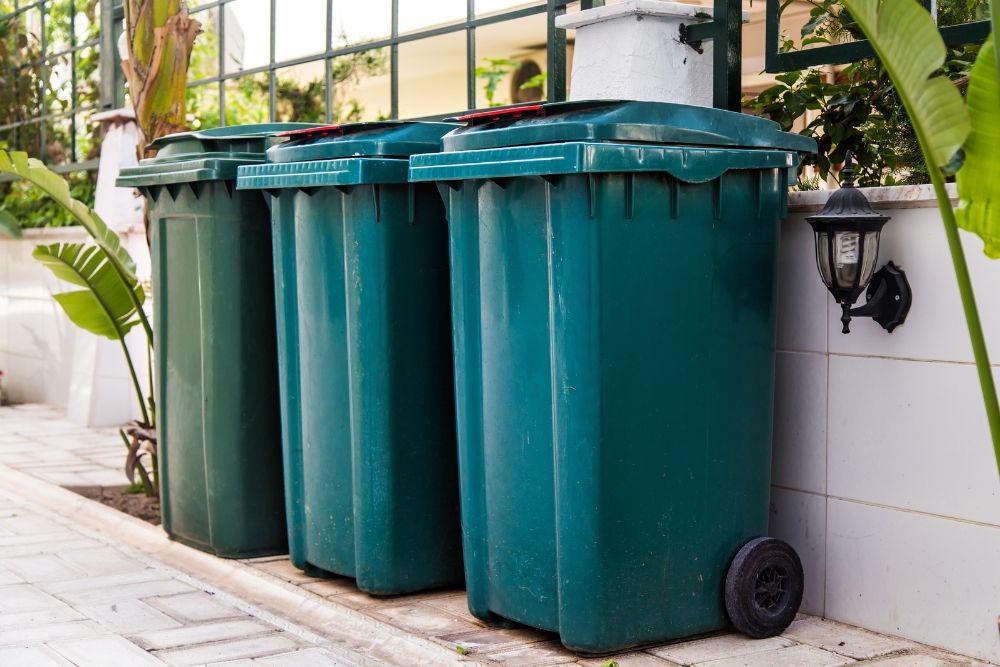
Wheelie bins are a convenient way to handle waste, but over time, their wheels can wear out, making them difficult to move. Whether you're dealing with broken wheels or just looking to improve the ease of use, replacing and upgrading bin wheels can make a noticeable difference. In this guide, we’ll walk you through the steps to replace bin wheels, explore the benefits of upgrading, and offer tips on selecting the best wheels for your needs.
1. Signs Your Bin Wheels Need Replacement
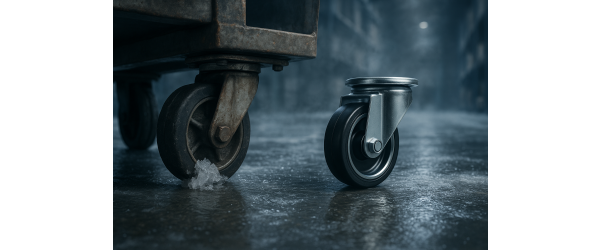
Before diving into the replacement process, it’s important to recognise when your bin wheels need attention. Signs that indicate it’s time for new wheels include:
- Difficulty Moving the Bin: If you’re struggling to move the bin, the wheels may be jammed or worn out.
- Wobbling or Tilting: Wheels that are loose or unbalanced can make the bin wobble, especially on uneven ground.
- Visible Damage:
Cracks, chips, or flat spots on the wheels will impact their functionality.
Regularly inspecting your bin wheels for these signs can help you determine when it’s time for an upgrade.
2. Choosing the Right Replacement Wheels for Bins
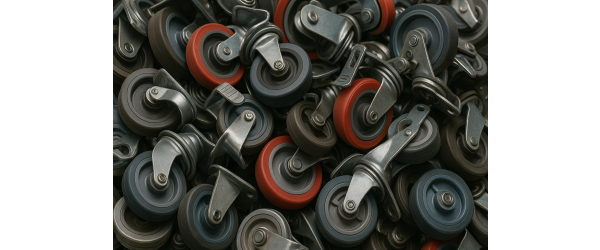
Not all wheels are the same, so it’s essential to choose replacements that match your bin and suit your environment. Here are a few factors to consider:
- Size and Fit:
Measure the diameter and axle size of your existing wheels to find the right fit for your bin. - Material:
Look for durable materials, such as rubber or heavy-duty plastic, that can withstand different weather conditions and ground surfaces. - Terrain:
If you move your bin across gravel, grass, or other rough surfaces, consider upgrading to wheels with treads or larger diameters for better traction and smoother movement.
Upgrading to high-quality wheels can improve the overall mobility of your bin, making waste disposal more convenient.
3. Step-by-Step Guide to Replacing Your Bin Wheels
Replacing bin wheels is a straightforward process that typically only requires a few tools. Follow these simple steps to get the job done:
Step 1: Gather Your Tools
You’ll likely need a wrench or screwdriver to remove the wheel axle, depending on your bin’s design. Make sure you have your new bin wheels and any required bolts or washers handy.
Step 2: Remove the Old Wheels
- For Clip-On Wheels: Use a flathead screwdriver to carefully pop off any clips securing the wheels to the axle.
- For Bolt-On Wheels: Loosen and remove the nuts or bolts holding the wheels in place. Once removed, slide the old wheels off the axle.
Step 3: Install the New Wheels
- Slide the replacement wheels onto the axle, ensuring they fit snugly.
- Reattach Clips or Bolts: Secure the new wheels by reattaching any clips or bolts you removed. Make sure everything is tight and secure to avoid wobbling.
Step 4: Test the Bin
Give the bin a quick roll on different surfaces to ensure the wheels are installed correctly and moving smoothly. Adjust if needed to ensure stability and balance.
4. Benefits of Upgrading Your Wheelie Bin Wheels
Upgrading your bin wheels can provide several advantages beyond basic functionality. Here’s why it’s worth considering:
- Enhanced Durability: Upgraded wheels are often made of tougher materials, extending the lifespan of your bin.
- Improved Mobility: With better wheels, moving the bin is easier, even over uneven terrain. This can be especially helpful if you have a long distance to move the bin or frequently deal with heavy loads.
- Noise Reduction:
Some replacement wheels for bins are designed with noise-dampening features, reducing the clatter and making your bin quieter to move.
Investing in higher-quality wheels can make a noticeable difference in the overall usability of your bin, turning a routine chore into a simpler, smoother task.
5. Maintenance Tips for Your New Bin Wheels
To keep your new wheels in top condition, follow these maintenance tips:
- Clean Regularly:
Dirt and debris can get lodged in the wheels, leading to wear and tear. Rinse them occasionally to remove any buildup. - Check for Damage: Periodically inspect the wheels for cracks or flat spots, especially if you roll the bin over rough terrain.
- Lubricate Moving Parts: Apply a small amount of lubricant to the axle if you notice stiffness or squeaking. Be careful not to over-lubricate, as this can attract more dirt.
By maintaining your bin wheels, you’ll extend their lifespan and ensure they continue to roll smoothly over time.
Replacing and upgrading bin wheels is an easy and affordable way to improve your bin’s functionality. Whether you’re dealing with damaged wheels or just want to make waste collection easier, a quick upgrade can make a significant difference. Castors Online offers a variety of high-quality bin wheels to suit any need, so you can keep your bin rolling smoothly for years to come.
